
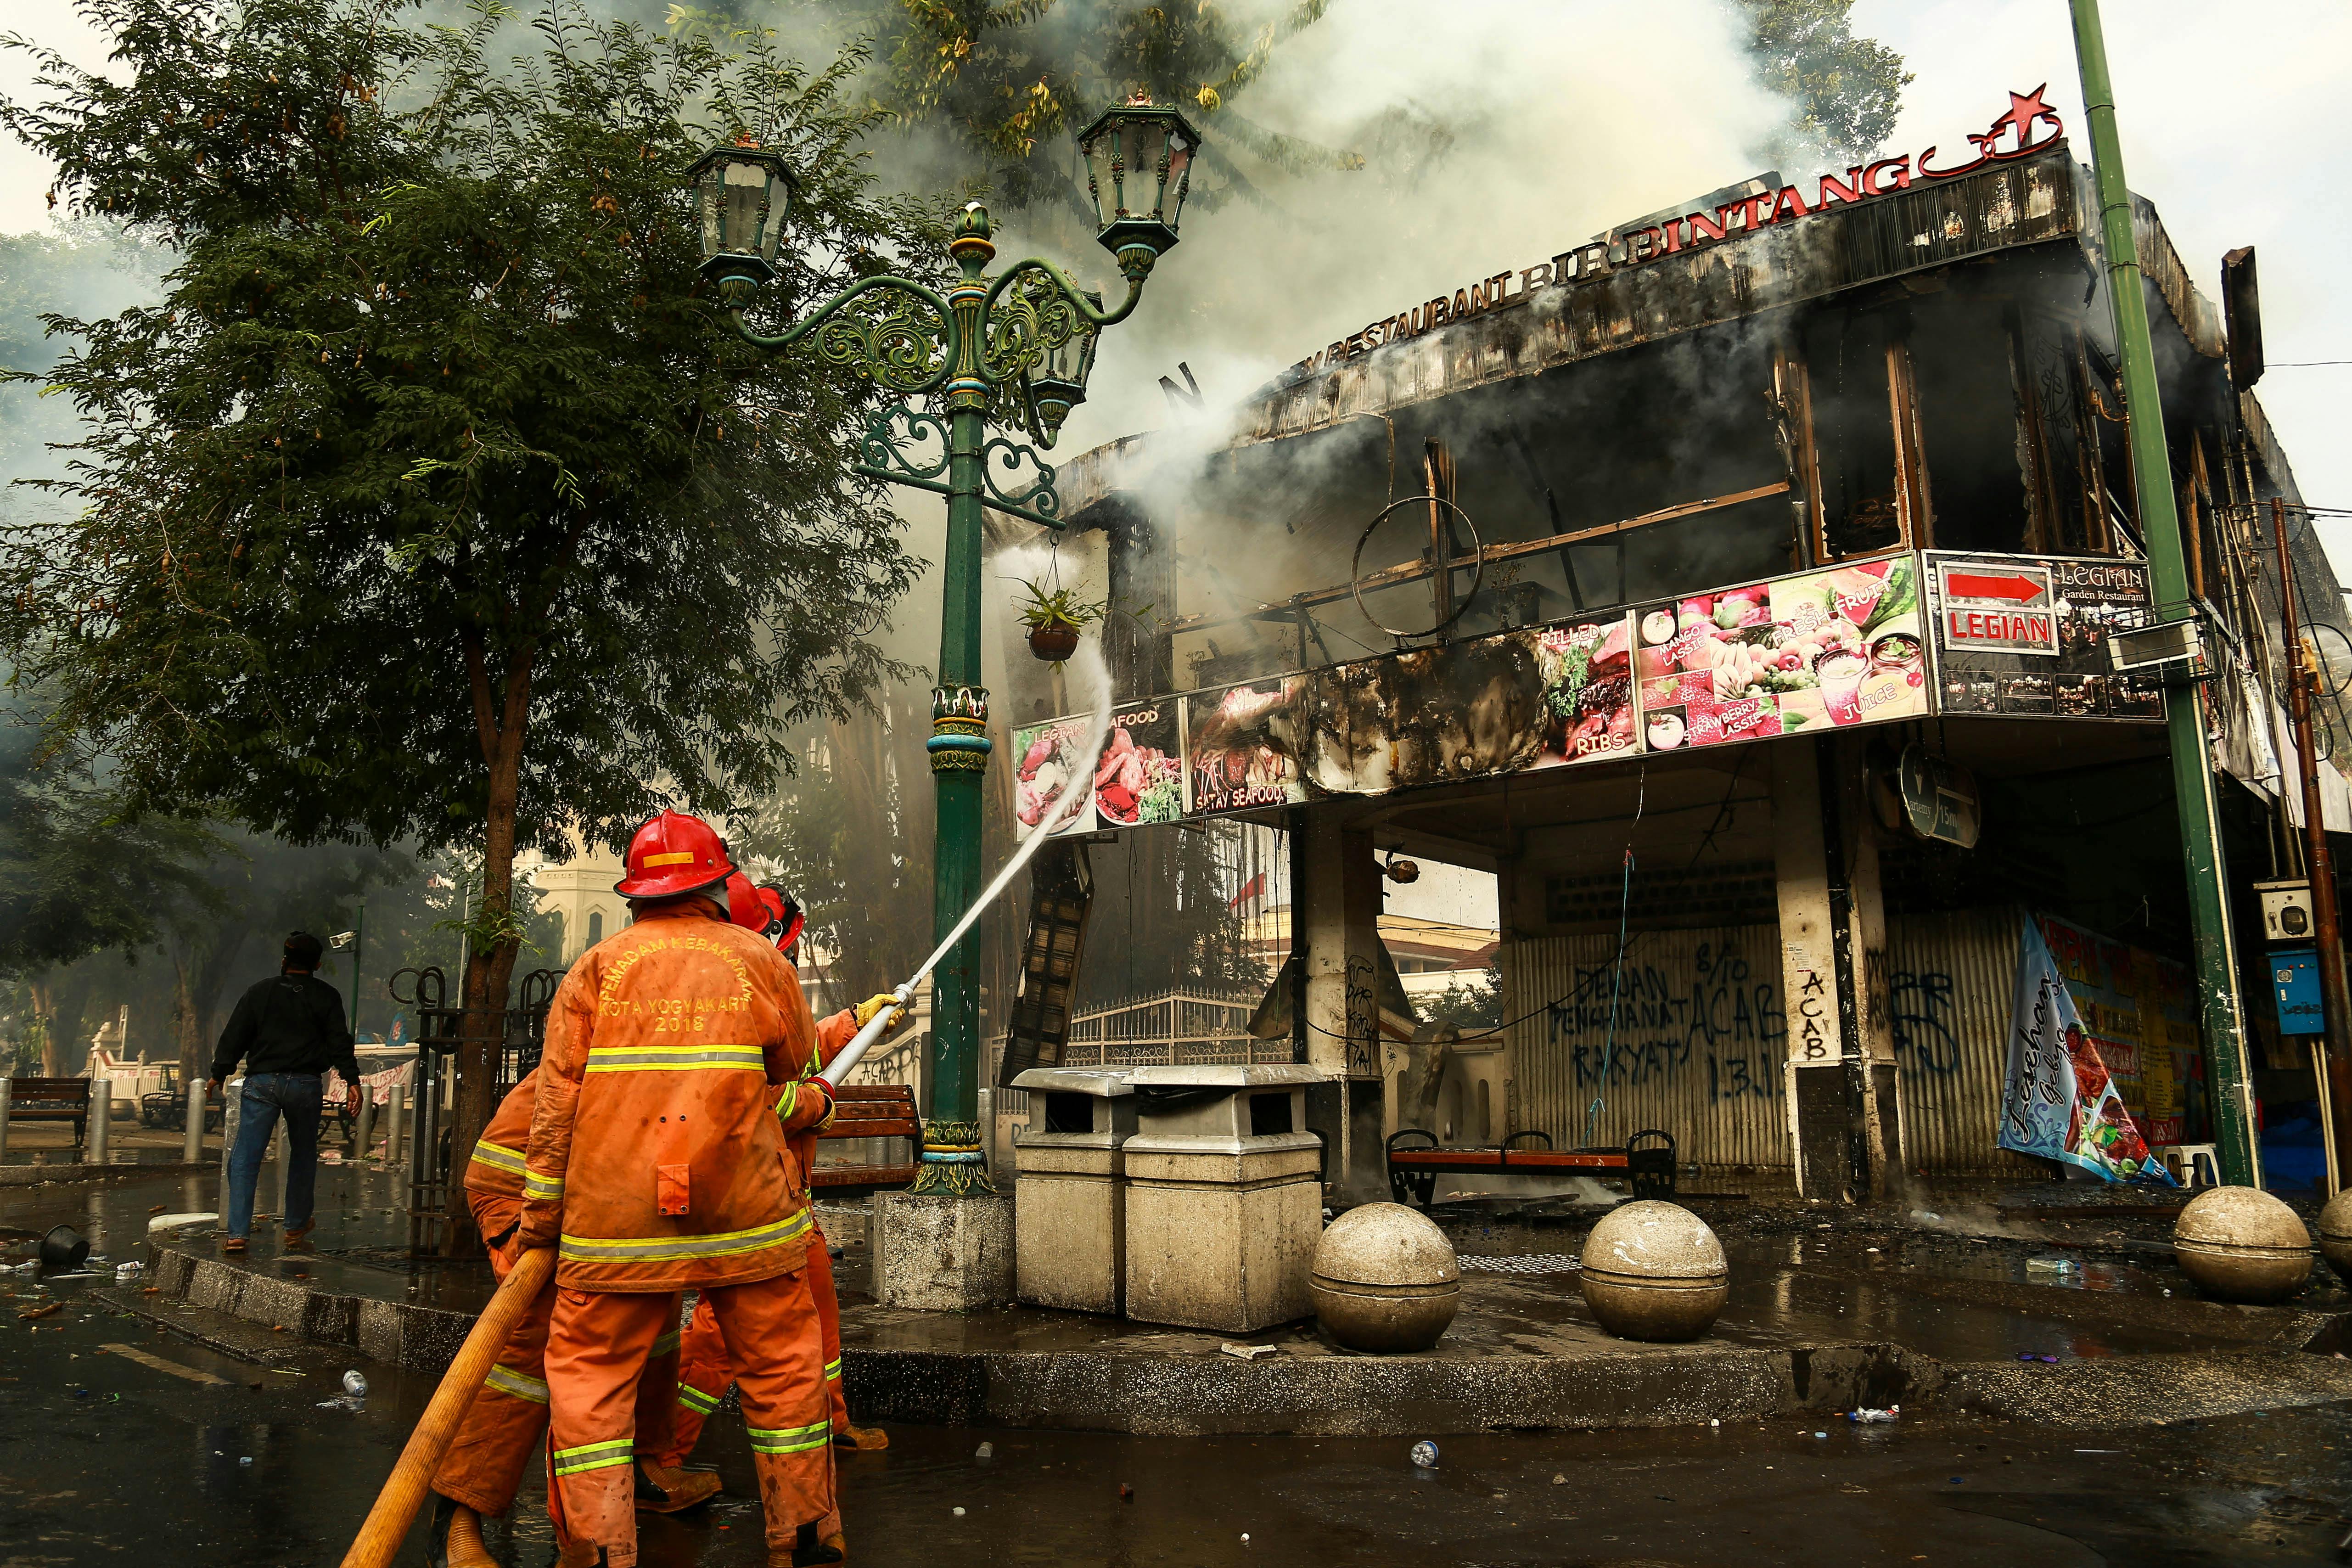
Removing smoke stains from walls can be a daunting task, whether they are a result of a recent fire or years of tobacco smoke accumulation. Smoke particles and soot can deeply penetrate wall surfaces, leaving behind discoloration and unpleasant odors. Effective smoke removal requires a careful approach, utilizing specific methods and materials. This guide provides a comprehensive, step-by-step approach to restore your walls to their original state, maintaining the integrity of the surfaces and enhancing the indoor environment.
Understanding the Impact of Smoke on Walls
Before embarking on the smoke removal process, it is crucial to understand the impact smoke can have on wall surfaces:
- Discoloration: Smoke and soot can cause significant discoloration, giving walls a yellow or grayish hue.
- Odor: The lingering odor can be pervasive and challenging to eliminate without the right techniques.
- Residue: Smoke leaves behind a sticky residue that can attract dust and dirt over time.
For more information on how smoke affects different materials, discover expert strategies here.
Essential Materials and Tools
Gathering the right materials and tools is the first step to efficient smoke removal. Here is a list of essentials:
- Mild detergent or specialized smoke removal cleaner
- White vinegar
- Baking soda
- Soft sponges and microfiber cloths
- Protective gloves and masks
- Fans and dehumidifiers for ventilation
Using appropriate materials helps in breaking down the smoke residue effectively. Learn about our tailored solutions.
Step-by-Step Smoke Removal Process
Step 1: Ventilation
Ensure the area is well-ventilated by opening windows and using fans. This helps in dissipating odors and drying the walls as you work. Position fans to direct the airflow towards the outside to avoid circulating smoke particles in other areas.
Step 2: Dusting and Vacuuming
Begin by dusting the walls with a dry cloth to remove loose soot. Follow up with vacuuming using an attachment that is suitable for walls. This step prevents further staining during the cleaning process.
Step 3: Cleaning with Detergent
Mix a solution of warm water and mild detergent. Use a soft sponge to gently scrub the walls, working in small sections. Rinse the sponge frequently to avoid spreading the soot.
Step 4: Applying Vinegar Solution
Prepare a vinegar solution (one part vinegar to two parts water) and apply it with a spray bottle. Vinegar is effective in neutralizing odors and breaking down smoke particles. Wipe the walls with a microfiber cloth after application.
Step 5: Baking Soda Treatment
Baking soda is a natural odor absorber. Sprinkle it on the walls and let it sit for a few hours before wiping it off. This will help in eliminating any remaining odors.
For detailed instructions on these methods, explore advanced guides and tips.
Preventive Measures
To prevent future smoke damage, consider these measures:
- Install air purifiers to reduce airborne particles.
- Use smoke-resistant paints that are easier to clean.
- Regularly clean and maintain HVAC systems.
Implementing these strategies can significantly reduce the impact of smoke on your walls. Find out more about this approach.
Customer Feedback
For insights into the effectiveness of these methods, consider exploring customer experiences. Check out customer reviews here to see what others are saying about their results.
In conclusion, while smoke removal from walls can be challenging, using the right techniques and materials can restore your walls effectively. Follow this guide for a cleaner, fresher environment and maintain it with preventive strategies for long-lasting results.