
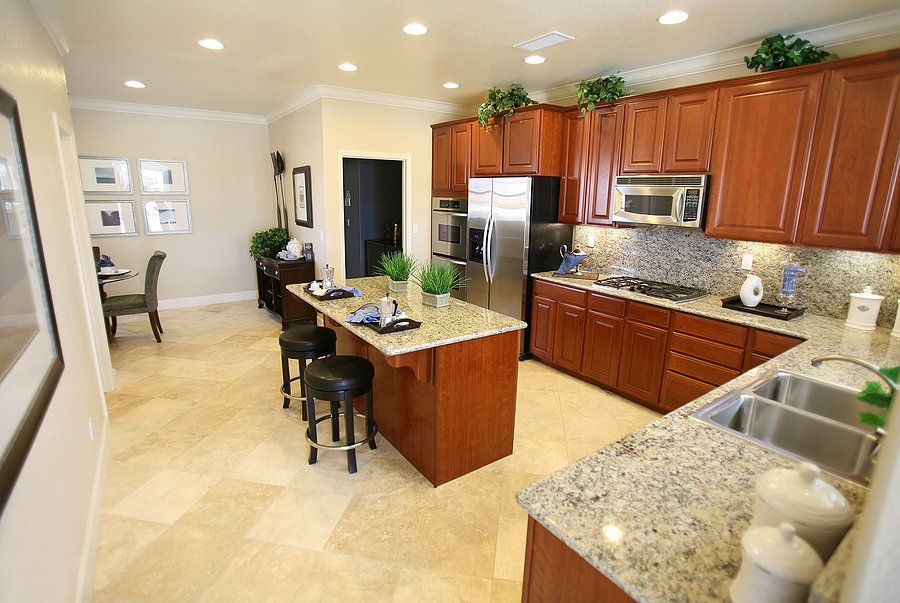
Updating the backsplash in your kitchen can dramatically enhance its aesthetic appeal and functionality. Whether you are a DIY enthusiast or hiring a professional, understanding the intricacies of backsplash installation is crucial for achieving a flawless finish. This article provides expert insights and practical tips to ensure a seamless installation process, transforming your kitchen into a space of beauty and efficiency.
Preparation and Planning
Choosing the Right Materials
Selecting the appropriate materials sets the foundation for a successful backsplash installation. Consider factors such as durability, maintenance, and style. Tiles are a popular choice due to their versatility and ease of cleaning. For guidance on choosing the right materials, discover expert strategies here.
Accurate Measurements
Precise measurements are essential to avoid wastage and ensure a perfect fit. Use a measuring tape to determine the area, accounting for electrical outlets and other obstacles. Accurate measurements will help you calculate the exact number of tiles needed.
Installation Process
Surface Preparation
A clean and smooth surface is crucial for proper tile adhesion. Remove any old backsplash materials and repair any wall damage. Cleaning the surface thoroughly ensures that the tiles will adhere properly.
Applying Adhesive
Use a high-quality adhesive suitable for your chosen tile material. Apply it evenly with a notched trowel to create a uniform bed for the tiles. This step is vital for ensuring that the tiles remain securely in place. For more detailed installation techniques, explore advanced guides and tips.
Tile Placement and Spacing
Begin placing tiles from the bottom center, working your way up and outwards. Use spacers to maintain consistent spacing between tiles, ensuring a professional finish. Adjust tiles as needed to keep lines straight and even.
Finishing Touches
Grouting
Once the adhesive has set, apply grout using a rubber float. Press grout into the spaces between tiles, removing excess with a damp sponge. Proper grouting seals the tiles, preventing moisture intrusion and enhancing the overall look.
- Choose a grout color that complements your tiles.
- Seal the grout to protect against stains and mold.
- Allow the grout to cure according to the manufacturer’s instructions.
Sealing and Maintenance
Sealing the tiles and grout enhances their longevity and eases maintenance. Regular cleaning with non-abrasive cleaners will keep your backsplash looking pristine. For more information on maintaining your kitchen surfaces, learn about our tailored solutions.
By following these expert tips, you can achieve a seamless and professional backsplash installation that enhances both the style and functionality of your kitchen. Whether you are undertaking a DIY project or seeking professional assistance, knowledge and preparation are key to success. Find out more about this approach and transform your kitchen into a stunning culinary space.