
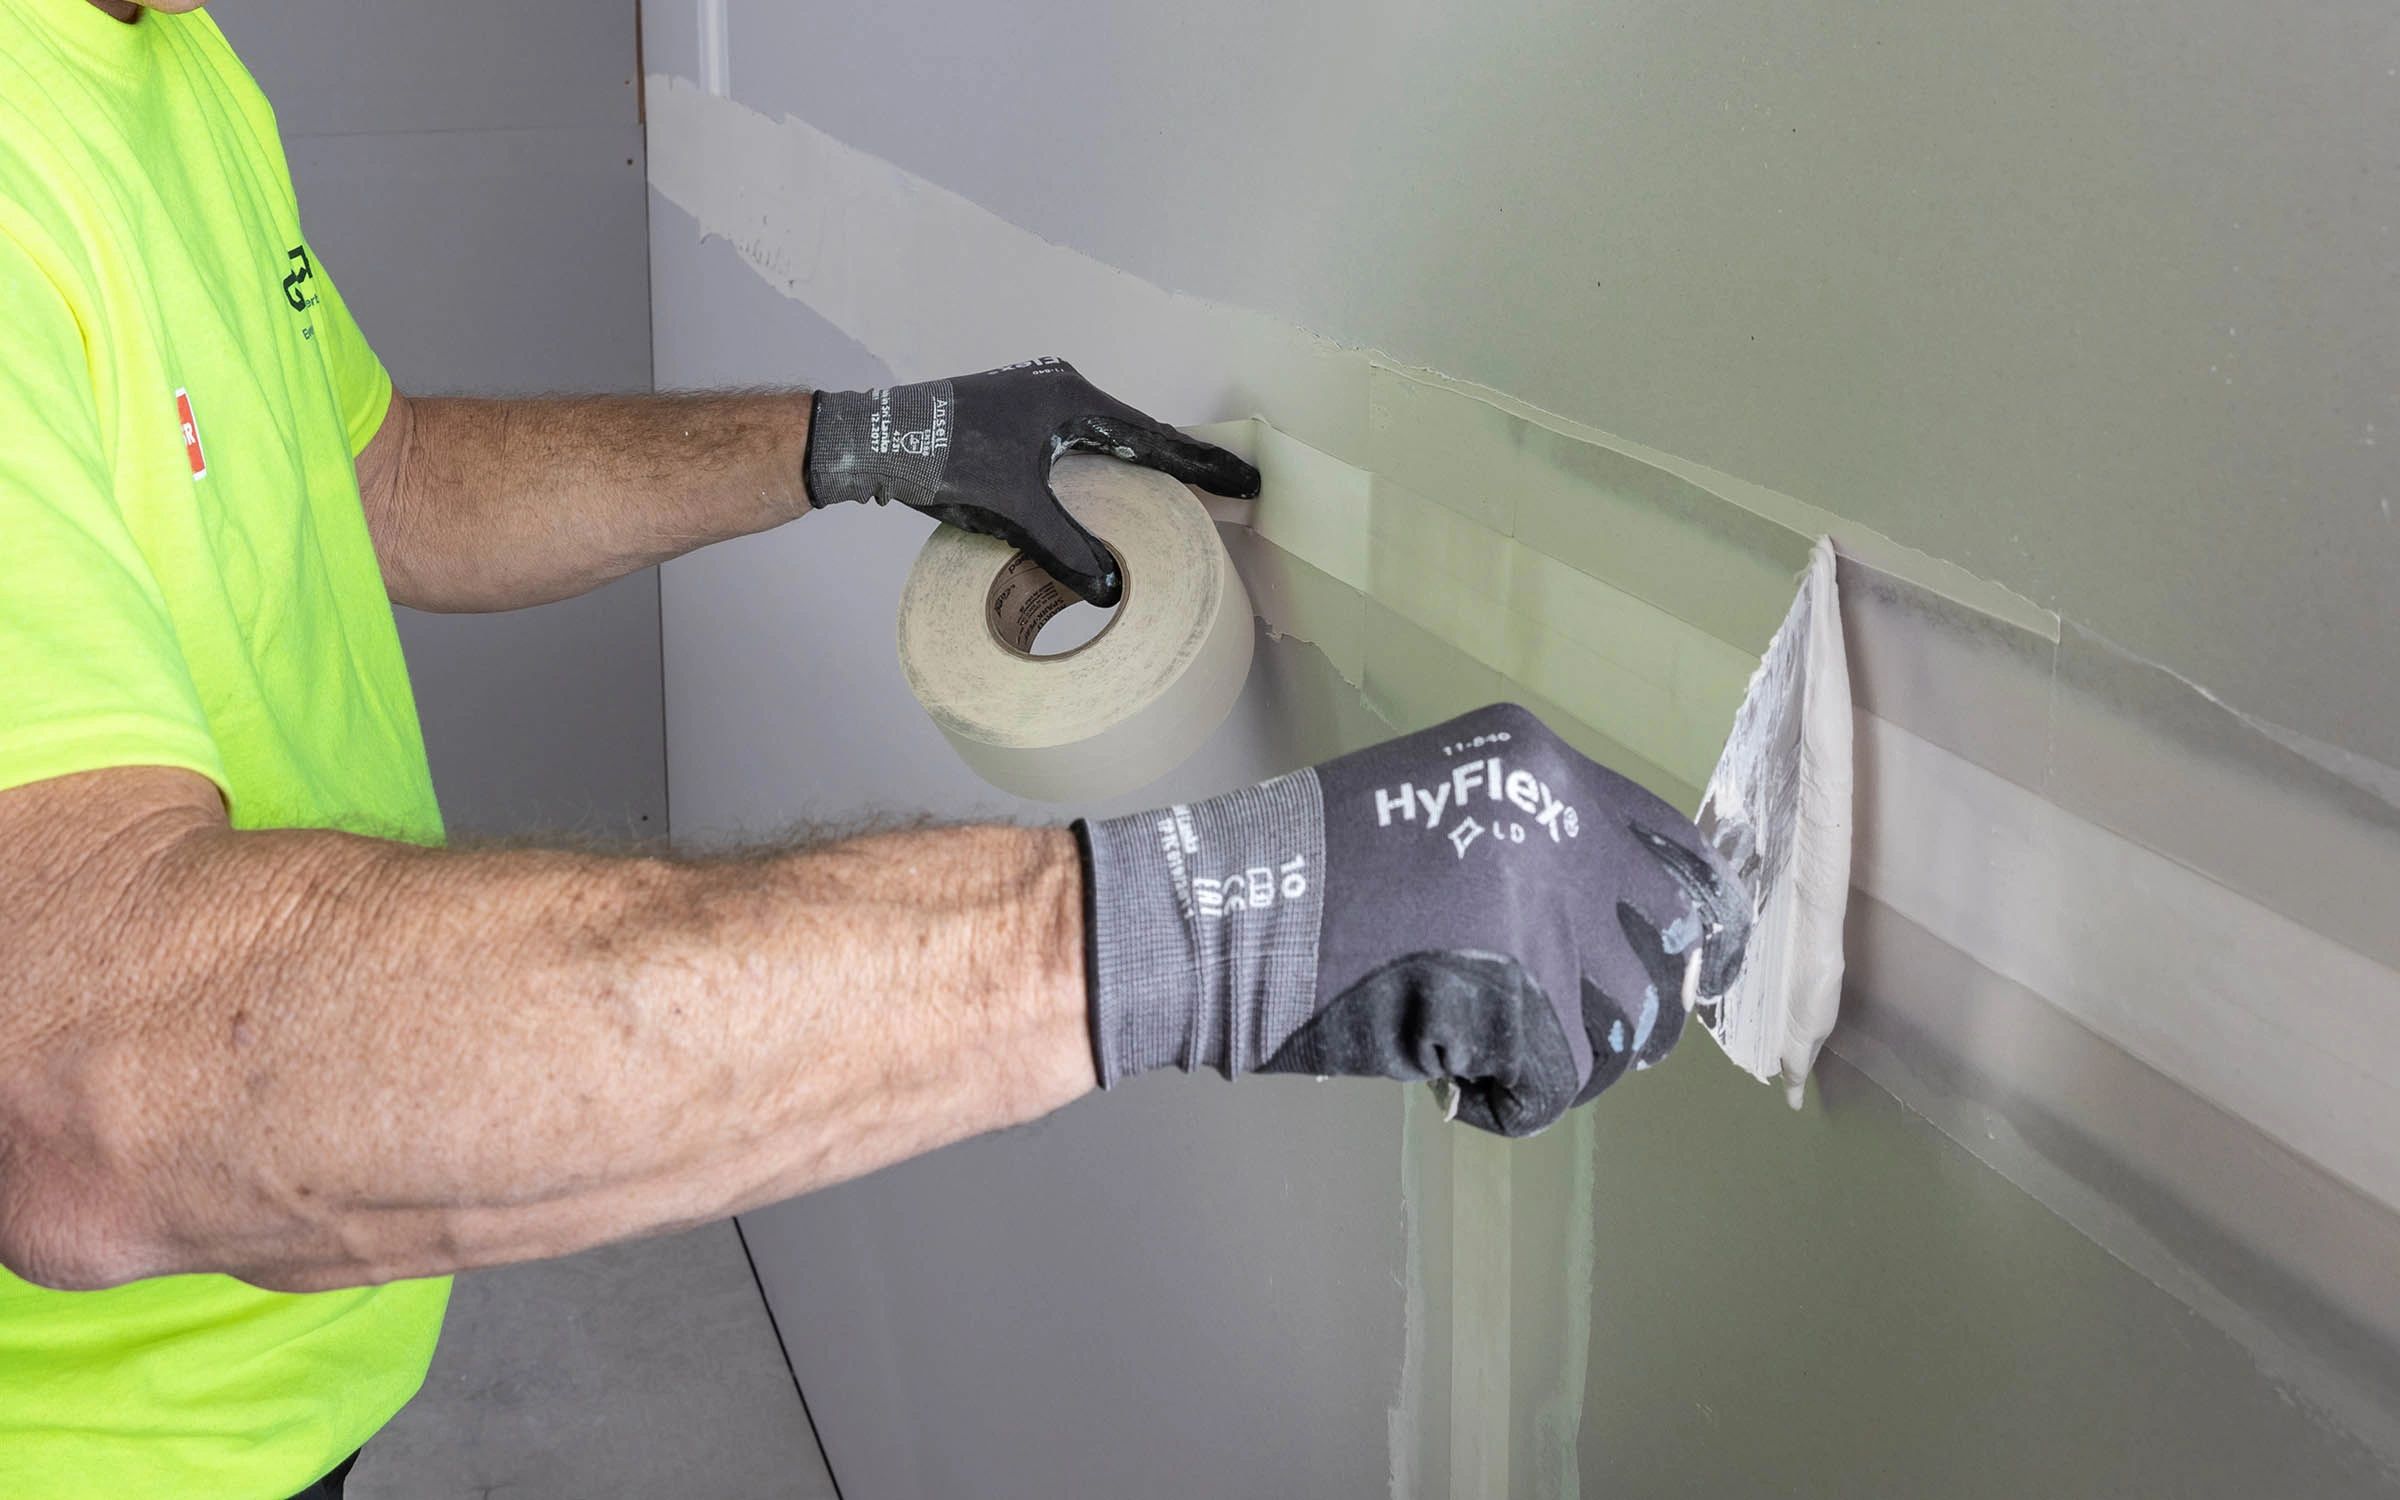
Repairing large patches in plasterboards requires precise techniques and a comprehensive understanding of materials and tools. While minor repairs might seem straightforward, large patch repairs demand a strategic approach to ensure the integrity of the wall and the seamless blending of old and new materials. This article delves into expert techniques for tackling large plasterboard repair patches, ensuring a professional finish each time. For those seeking detailed strategies, discover expert strategies here.
Preparation and Assessment
The foundation of a successful plasterboard repair lies in thorough preparation and assessment. Before diving into the repair process, consider the following steps:
- Identify the Damage: Assess the extent of damage to determine the size of the repair patch required. This initial step is crucial for selecting the appropriate materials and tools.
- Gather Necessary Tools: Equip yourself with essential tools such as a utility knife, taping knife, sanding block, and a drywall saw. High-quality joint compound and plasterboard are also indispensable.
- Clear the Area: Ensure the work area is free of debris and dust. This not only provides a clean workspace but also helps in achieving a smooth finish.
For more insights on preparation, learn about our tailored solutions.
Cutting and Securing the Patches
Once the area is prepared, the next step involves cutting and securing the plasterboard patches:
- Measure and Cut: Measure the damaged area and cut a new piece of plasterboard to fit the space. Precision is key, as the patch must fit snugly to maintain structural integrity.
- Secure the Patch: Use screws to fasten the patch securely to the existing wall structure. Ensure that the screws are flush with the surface to avoid bumps during finishing.
Detailed guidance on these techniques can be found by exploring advanced guides and tips.
Applying and Finishing the Joint Compound
The application of joint compound is a critical phase in large patch repairs. Follow these steps for a flawless finish:
- First Coat: Apply a thin layer of joint compound over the patch, extending it beyond the edges to blend with the existing wall.
- Reinforce with Tape: Use paper or mesh tape over the seams to reinforce the joints. This prevents cracks and enhances durability.
- Smoothing and Sanding: Once dry, sand the surface to a smooth finish. A well-sanded surface ensures that subsequent layers adhere properly.
- Final Coats: Apply additional coats of joint compound, sanding lightly between each until the surface is even and flawless.
For more comprehensive techniques on this process, find out more about this approach.
Finishing Touches and Painting
To complete the repair process, focus on finishing touches and painting:
- Primer Application: Before painting, apply a coat of primer to the repaired area. This step is crucial for an even paint application and long-lasting results.
- Painting: Choose a paint that matches the existing wall color. Use a roller or brush to apply the paint evenly across the surface.
- Quality Control: Inspect the repair under different lighting conditions to ensure the patch is invisible and blends seamlessly with the rest of the wall.
Find additional tips on achieving a professional finish by exploring advanced guides and tips.
In conclusion, repairing large plasterboard patches requires meticulous attention to detail and a strategic approach. By following these expert techniques, homeowners and professionals alike can achieve a flawless finish that stands the test of time.